使用
本框架在不影响RecyclerView的任何函数组件使用基础上开发. 本框架也将一直保持维护状态
非常欢迎共同贡献代码/修订文档, 点击文档右上角小铅笔可直接修订文档 ↗
创建一个简单的列表
rv.linear().setup {
    addType<SimpleModel>(R.layout.item_simple)
}.models = getData()
这里出现的BRV关键词即本框架, RV即RecyclerView简称
列表填充数据的三种方式
BRV支持三种方式, 灵活使用; 这里提及的Model就等同于数据类/JavaBean/POJO
1) 函数回调
在onBind函数中填充数据
rv.linear().setup {
    addType<SimpleModel>(R.layout.item_simple)
    onBind {
        findView<TextView>(R.id.tv_simple).text = getModel<SimpleModel>().name
    }
}.models = getData()
2) 实现接口
通过为Model实现接口ItemBind, 实现函数onBind, 在该函数中填充数据; 这种方式在很多框架中被应用, 例如BRVAH, 但是我不推荐这种视图在Model中绑定的方式, 因为Model应当只存储数据和计算逻辑, 不应包含任何UI
class SimpleModel(var name: String = "BRV") : ItemBind {

    override fun onBind(holder: BindingAdapter.BindingViewHolder) {
        val appName = holder.context.getString(R.string.app_name)
        holder.findView<TextView>(R.id.tv_simple).text = appName + itemPosition
    }
}
3) DataBinding
通过DataBinding数据绑定形式自动填充数据, 推荐, 这是代码量最少最灵活的一种方式.
第一步, 启用DataBinding, 在module中的build.gradle文件中
apply plugin: "kotlin-kapt" // kapt插件用于生成dataBinding

android {
    /.../
    buildFeatures.dataBinding = true
}
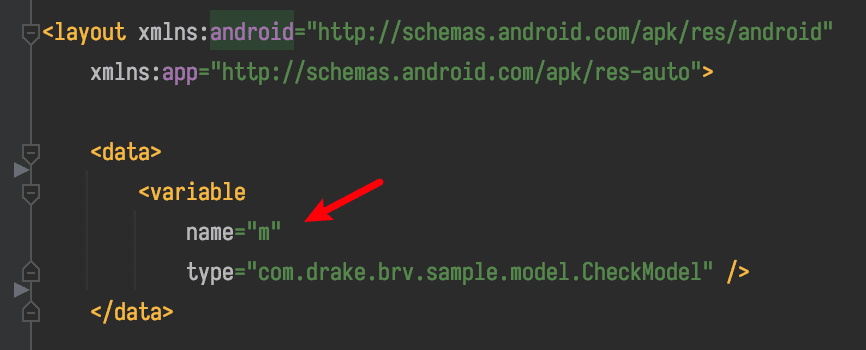
第二步, 在Item的布局文件中创建变量, 然后绑定变量到视图控件上
<layout xmlns:android="http://schemas.android.com/apk/res/android">

    <data>

        <variable
            name="m"
            type="com.drake.brv.sample.model.SimpleModel" />
    </data>

    <LinearLayout
        android:layout_width="match_parent"
        android:layout_height="wrap_content">

        <FrameLayout
            android:id="@+id/item"
            android:layout_width="match_parent"
            android:layout_height="100dp"
            android:layout_margin="16dp"
            android:background="@drawable/bg_card"
            android:foreground="?selectableItemBackgroundBorderless">

            <TextView
                android:id="@+id/tv_simple"
                android:text="@{String.valueOf(m.name)}"
                android:gravity="center"
                android:layout_width="match_parent"
                android:layout_height="match_parent" />

        </FrameLayout>

    </LinearLayout>
</layout>
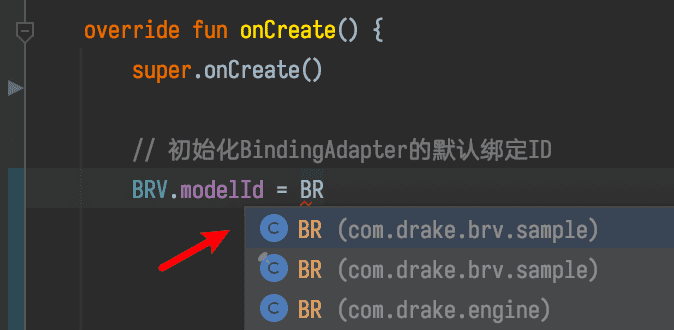
第三步, 赋值一个用于自定绑定数据到XML布局的Id(DataBinding基础知识)
rv是一个列表. 里面的models是一个list集合, 每个元素对应一个item. dataBinding会根据你
赋值的Id自动绑定models中元素到xml中赋值
- 注意要先在某个布局或Item布局声明
<layout>布局中的变量name="m",BR.m才能被生成
- 导包注意导入你所在module的BR, 这样所有使用该Id来声明数据模型的布局都会被BRV自动绑定数据
- 如果依然没有生成请
make project(即图中绿色小锤子图标)

m(m是model的简称)可以是任何其他的名称, model或者sb都可以, 比如你
name="data", 那么你就应该使用BR.data
BR.data和Android中常见的R.id.data都属于Id常量, 本质上都是Int值. 你可以点击查看BR.m源码
但是一旦声明BRV.model = BR.m你的所有BRV使用的item布局都得使用name="m"来声明数据模型, 否则会无法自动绑定
当然你也可以在onBind里面手动绑定, 但是肯定比自动麻烦, 而且名称本身只是代号我建议都使用m
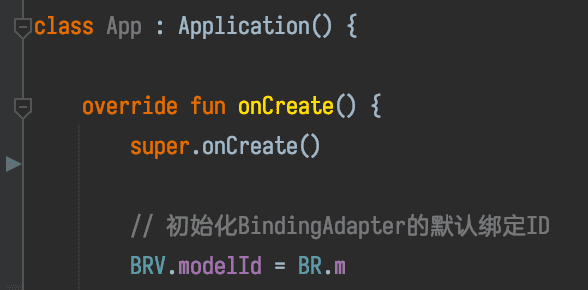
class App : Application() {

    override fun onCreate() {
        super.onCreate()

        // 初始化BindingAdapter的默认绑定ID, 如果不使用DataBinding并不需要初始化
        BRV.modelId = BR.m
    }
}
这种方式创建列表无需处理数据
rv.linear().setup {
    addType<SimpleModel>(R.layout.item_simple)
}.models = getData()
别看文档中第三种方式复杂, 实际第三种方式代码量最少, 同时最解耦
使用DataBinding可以复制或者引用我的常用自定义属性: DataBindingComponent.kt
如果你想更加了解DataBinding请阅读DataBinding最全使用说明